Export Error Code 3: Premiere Pro (10 Quick Fixes in 2023)
When trying to export from Premiere Pro, are you faced with the “Error Code 3”?
If so, it’s your lucky day, as that’s exactly what we will fix in this article.
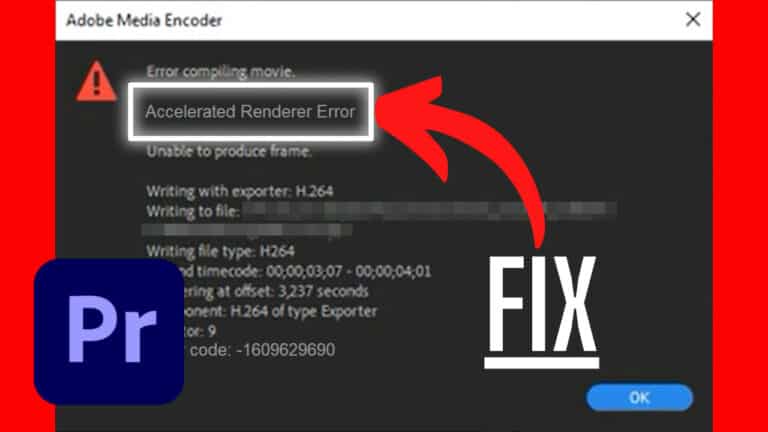
Error code 3 is an export/render error part of the “Error compiling movie” category.
This is one of the most common errors in Premiere, and because of that, I’ve spent the last weeks doing intense research and testing on how to fix it.
Here’s a video format of the video:
I’ve arranged the solutions from which I would try first to last:
1. Meet Hardware Recommendations
Error code 3 in Premiere Pro usually occurs when there is not enough available VRAM on your GPU to encode your video.
For encoding video in Premiere Pro, Adobe recommends…
- 4GB VRAM for exporting 1080p.
- 6GB VRAM for exporting 4K.
- 8GB VRAM for exporting 6K or higher.
Reference: https://helpx.adobe.com/x-productkb/multi/gpu-acceleration-and-hardware-encoding.html
Here’s how to check your GPU’s amount of VRAM:
If you’re not meeting the VRAM recommendation, this is likely causing the error.
In that case, I would try exporting using only the CPU; jump to that solution here.
However, if your graphics card has enough VRAM, I recommend trying the methods in the order I’ve written them, EXCEPT number 4; save that one for last. That’s because we want to utilize your GPU if it’s possible.
2. Reboot Your Computer
Rebooting your computer is an easy fix known to solve many bugs. Therefore, it’s worth giving it a shot, just in case.

3. Change from Hardware Encoding to Software Encoding
If your GPU does not have enough VRAM, this solution will likely solve the issue for you!
If your GPU met the requirements, I would first test out the other solutions in the article. Not utilizing an excellent GPU would be a shame!
Using Software Encoding means that instead of using both the graphics card and the processor to export your video, Premiere will only be using the CPU.
- Pros: known to make your video higher quality.
- Cons: exporting takes 2-4 times longer.
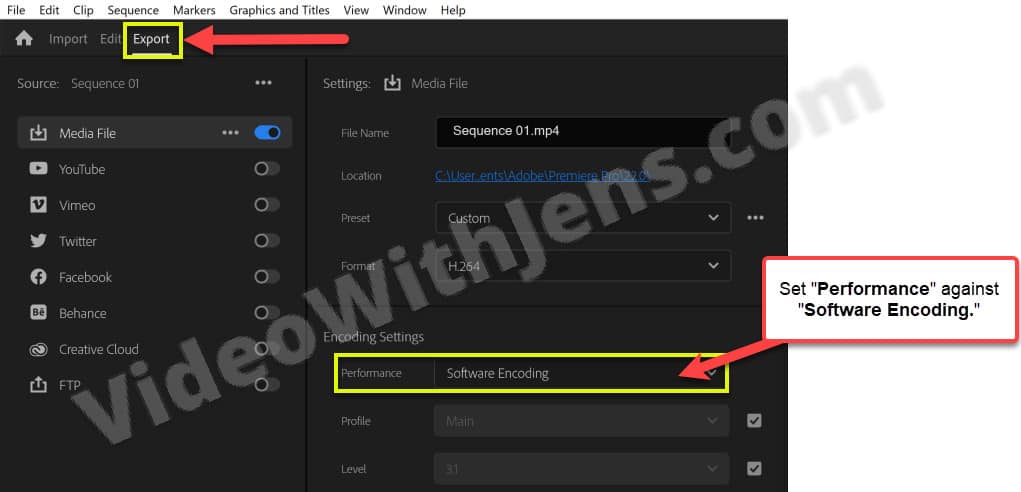
To do this, open the “Export” tab inside Premiere, and then the “Video” sub-tab and click on “More.”
You should see the “Performance” option under “Encoding Settings,” like in the image below. Set it against “Software Encoding,” and try exporting your project.
4. Set Power Management Mode to Maximum
Setting power management mode to maximum will tell Windows that Premiere can use all the GPU capacity available, meaning there are no power restrictions.
According to the internet, you don’t have this option if you use a Mac. However, I found an article on something similar for a 16-inch MacBook PRO with M1 Max (opens in a new tab).
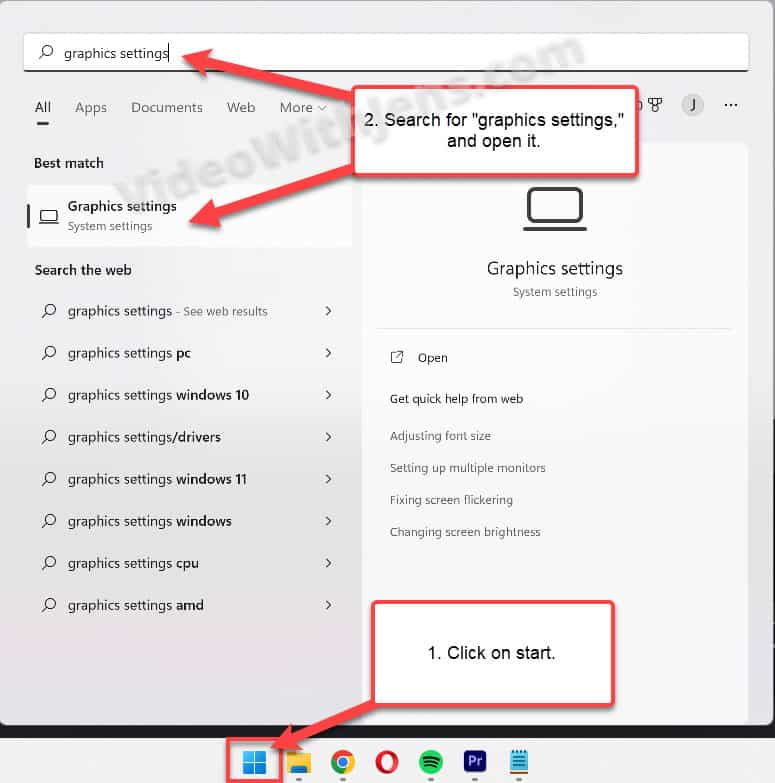
In Windows, open the “Start” menu by clicking on the “Windows” button on your keyboard or the windows icon in the taskbar.
Then search for “graphics settings” and open “Graphics settings.”
Now, we will add Premiere to the applications in the Graphics settings.
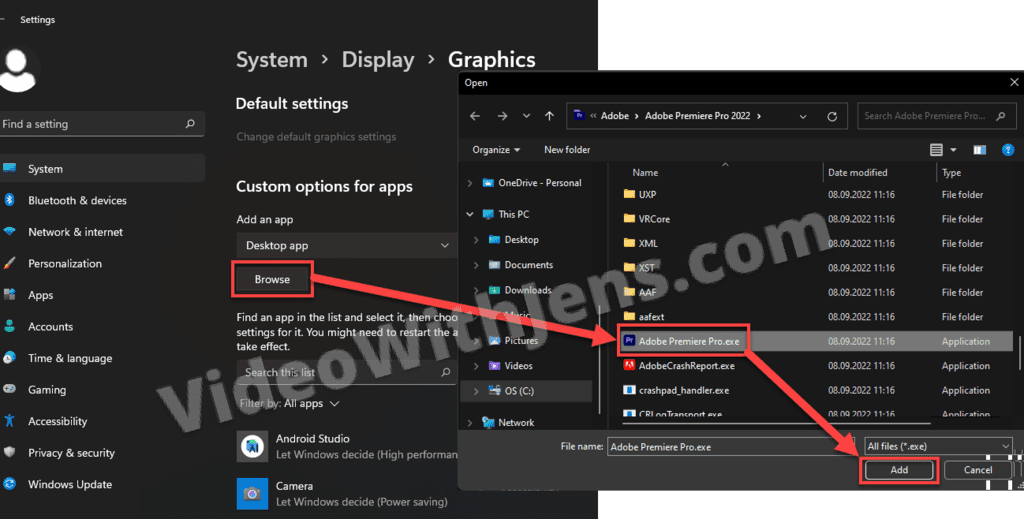
To do this, click on “Browse” and locate the “Adobe Premiere Pro” application file (the one that you can click to start Premiere). It should be found in the installation destination in your file system.
Select the application file, and click on “Add.”
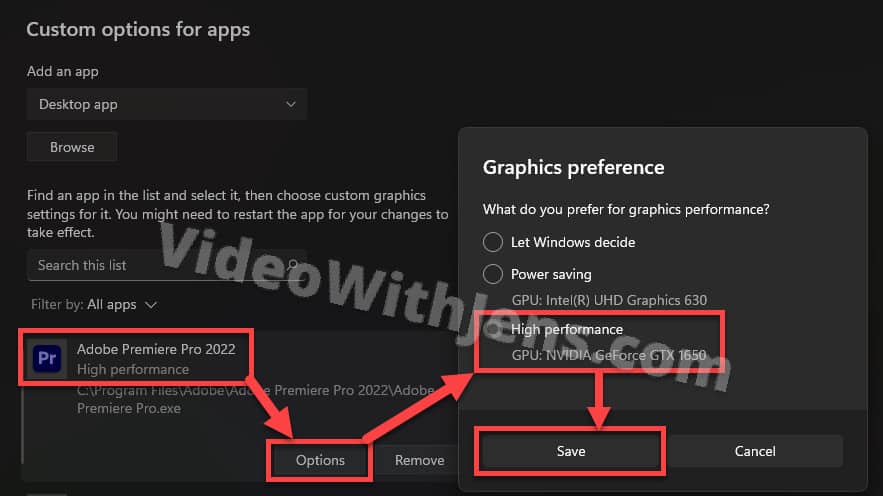
Now you should be able to see Premiere Pro in the graphics settings!
Click on it, and then open “Options.”
Enable the “High performance” option, click “Save,” and reboot your computer.
Hopefully, this gave the GPU enough power not to trigger error code 3!
If not, there’s an easy way to delegate even more of the VRAM Premiere:
5. Close Applications Running in the Background
There may be applications running in the background that you are unaware of, and even worse, using part of your graphics card’s VRAM.
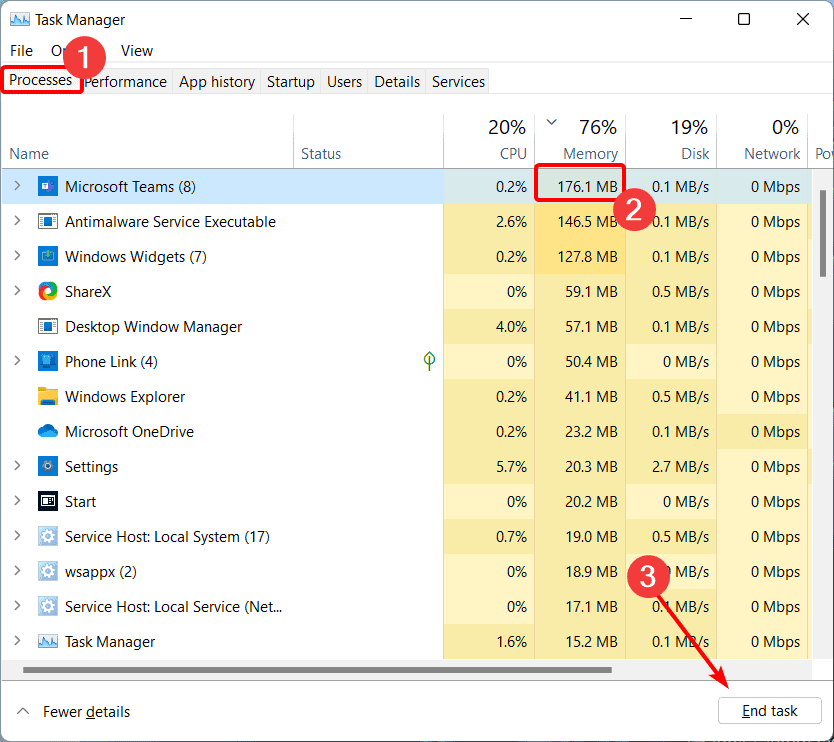
To prevent this from happening, open the “Task Manager” on Windows or the “Activity Monitor” on macOS.
To open it:
- Windows: Press “Start” and search for “task manager.”
- macOS: Press “Command + Spacebar” and search for “activity monitor.”
Now, end applications that you don’t need and consume a lot of power.
Click on the application and then click on “End task” (Windows) or the cross icon (macOS.)
After doing the steps above, try exporting your project from Premiere Pro.
If you’re still facing the error code 3, check out the next solution:
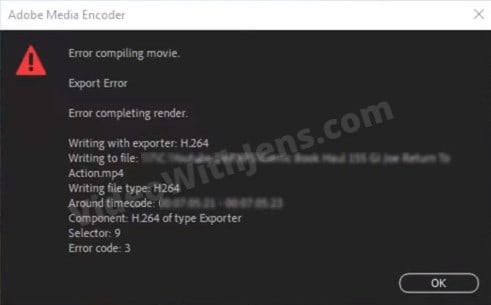
6. Adjust Video at the Timecode
When the error message pops up, it says at what point the error occurred when encoding your video.
You can check this next to “Around timecode,” like in the image below:

There can be many reasons for what’s causing the error, but knowing when it occurred gives you tons of information.
Here are a couple of examples of what you should look for:
- Effects.
- Color adjustments.
- Sound design.
- Titles/text.
- Clips that start around the time code.
If you find anything like that, troubleshoot by removing it and exporting the video.
You can also try trimming the ends of the clip or make some minor adjustments to it in case it’s a bug or something.
7. Update GPU Driver(s)
Make sure that your graphics card’s driver is up to date.
Generally, if you have the latest OS version, your drivers should also be up to date.
However, sometimes it helps to get the drivers directly from the manufacturer, as these are usually newer versions.
Manufacturer’s official website: (will direct you to the driver page)
8. Update to the Latest Version of Premiere Pro
Usually, whenever there is found a bug in Premiere Pro, they will be fast to release a new update fixing it.
Thus, updating Premiere Pro is a standard solution to various issues.
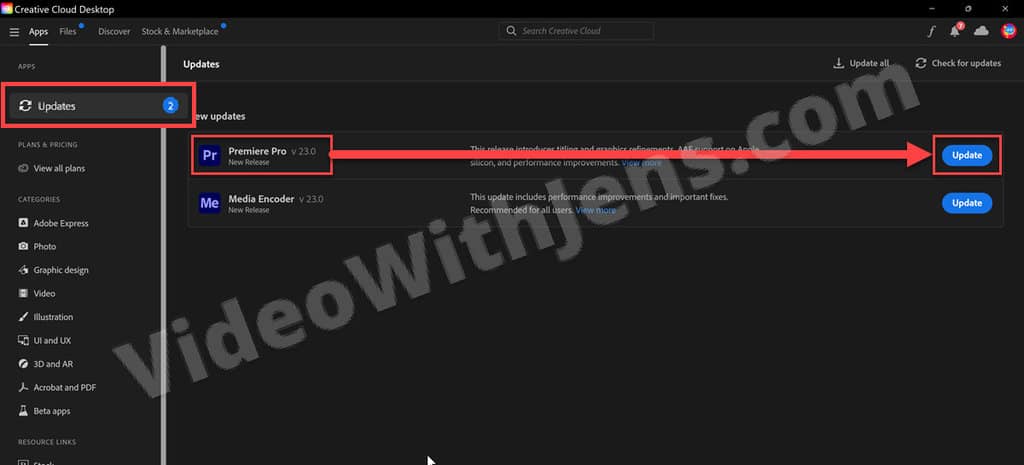
Open the Adobe Creative Cloud application on your computer to update the software.
Then, open “Updates” and click on “Update” next to Premiere Pro (you won’t see the update button if you are already up to date).
9. NVIDIA GPU: Switch from Gaming to Studio Driver
If you have an NVIDIA graphics card, many people have reported problems using the “Game Ready Driver” instead of the “Studio Driver.”
To get the studio version, open GeForce Experience on your computer and then open the “Drivers” section.
In the top right-hand corner, you should be able to see three dots, which, when clicked upon, give you the option to choose “Studio Driver”:
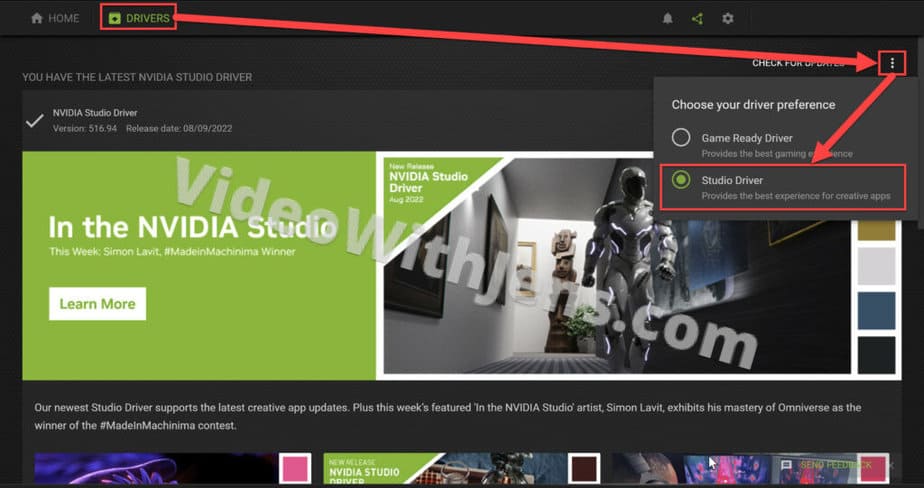
If you are unable to see the three dots, re-install GeForce Experience.
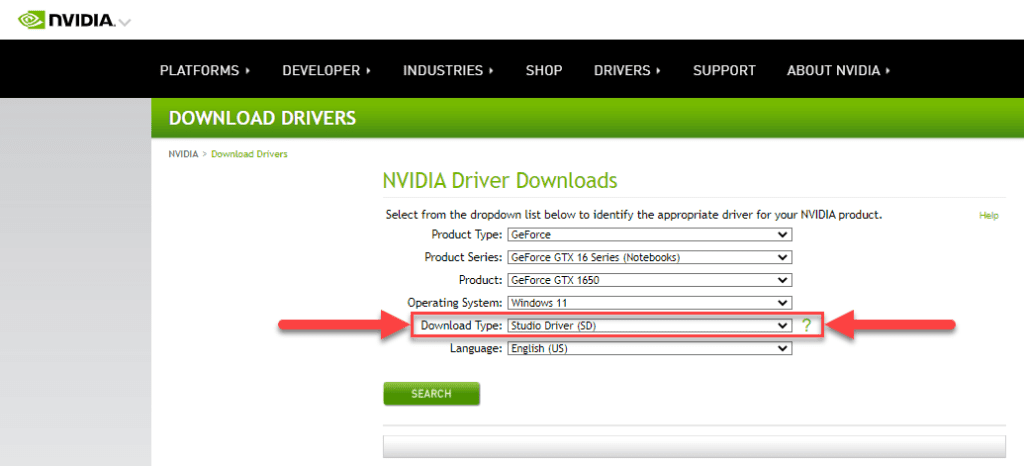
To do this, head over to NVIDIA’s official website (opens in a new tab), fill out your GPU’s technical details, and also set “Download Type” against “Studio Driver.”
Then download the latest driver version, and you’ll also get asked to install GeForce Experience (which you want) when installing.
10. Export With Media Encoder
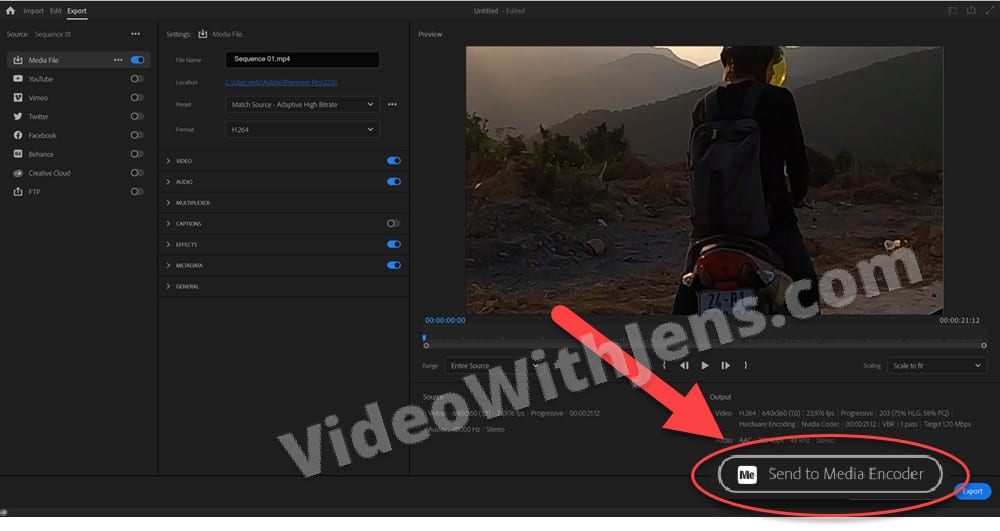
People have reported that exporting with Media Encoder instead of directly from Premiere Pro has solved their error code 3.
Media Encoder is a software that’s included in your Premiere Pro subscription.
Next to the “Export” button in Premiere, there is another button that says “Send to Media Encoder,” click on that one.
Then, set the correct settings over there, and export your project!
Error code 3 is part of the “Error compiling movie” group of errors, which I’ve written more about here.
![[SOLVED] File Importer Detected an Inconsistency in the File Structure Premiere Pro](https://videowithjens.com/wp-content/uploads/2023/01/File-Importer-Detected-an-Inconsistency-in-the-File-Structure-Premiere-Pro-768x432.jpg)