Copy Color Grade to Another Clip in DaVinci Resolve
In this article, you’ll learn EXACTLY how to copy a color grade and apply it to another clip!
This will save you from a bunch of work, so let’s just get to it!
- Go to the “Color” page inside Resolve.
- Click on “Timeline” to open it (top right-hand corner).
- Select the clip you want to apply the color grade to in the “Timeline“.
- Right-click the clip you want to copy, and select “Apply Grade“.
That’s a quick and simple way to do it! However, you’ve just found the holy dictionary, when it comes to copying color grades:
There are a bunch of better ways to do it than the one above + you can save the grades for future projects.
Check out this table of content if you are interested: (click to jump to the section)
- Viewing the Color Grade Before Applying.
- Saving Color Grading as Preset (For later use)
- How to Color Grade the Whole Timeline
- Handy Techniques for Copying Colorgrades
- How to Remove Color Grading
- How to Copy Color Grading Between Nodes (Not the Whole Clip)
I told you this is the real deal! Enjoy, the wisdom:
Viewing the Color Grade Before Applying + Better Way to Copy
This is really handy when you’re unsure if the color grade will suit the other clip. Or maybe you got a few different color presets and want to know which one to use.
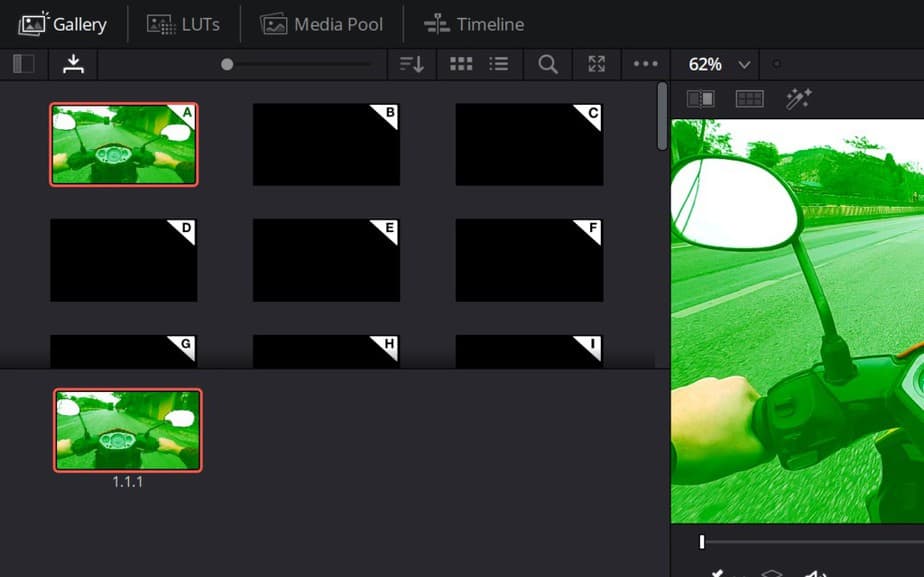
The text in this article will be referring to the picture above.
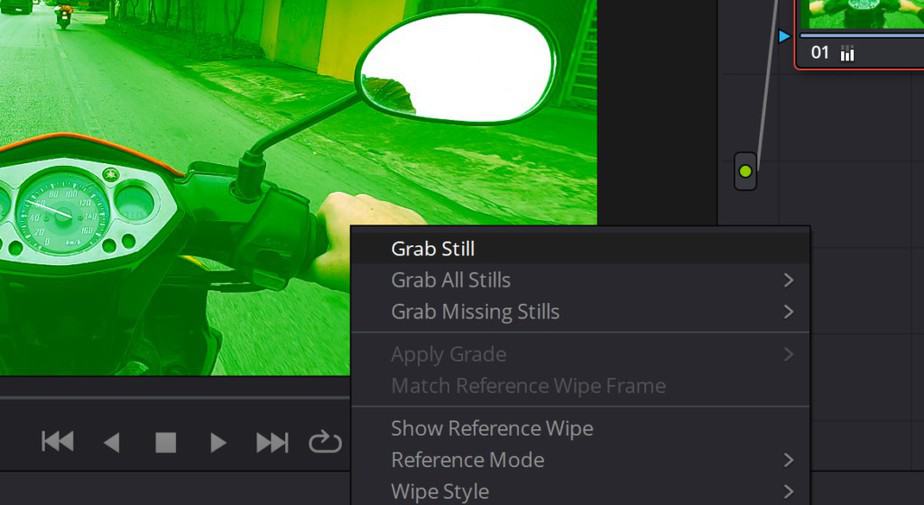
First, you got to “Grab Still“. You do this by right-clicking the clip you want to copy from in the viewer. Like in the picture.

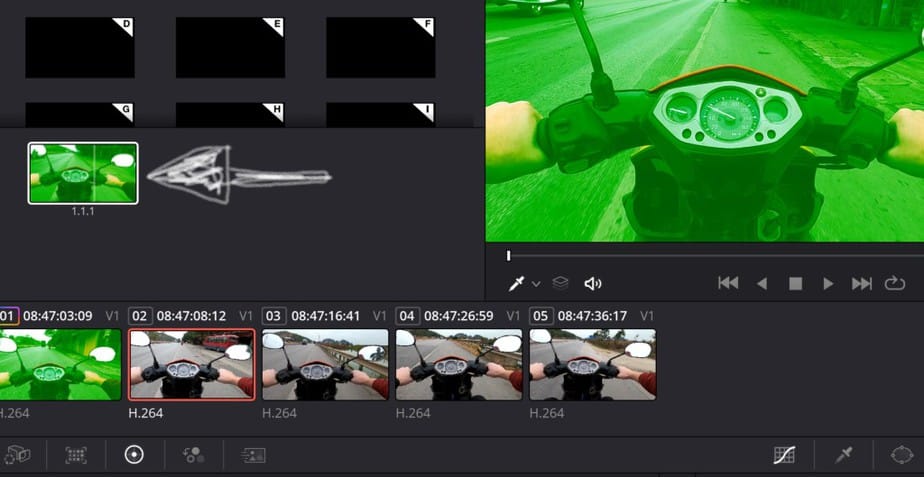
You can now see it listed under “Gallery” like here in the picture. If you can’t see the thumbnail you got to change the listing type. (If so select the 6 dots I’ve circled around).
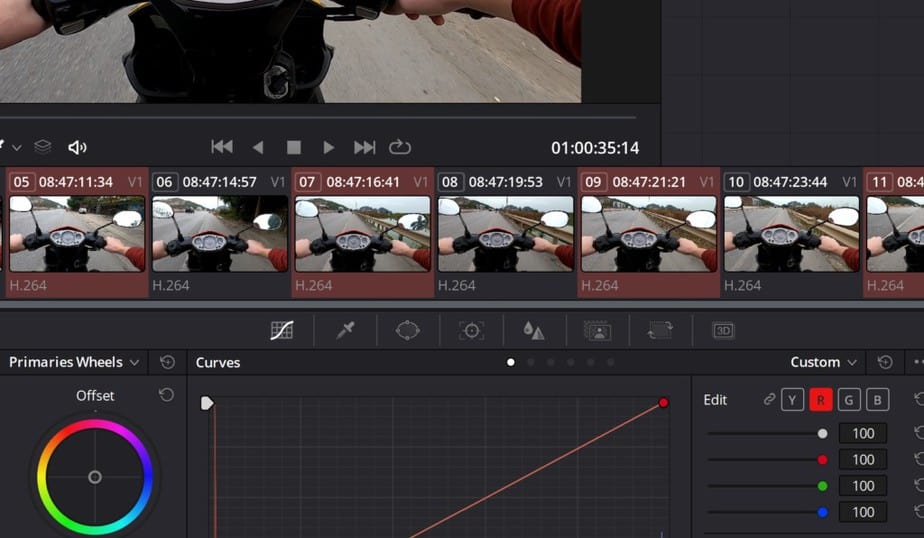
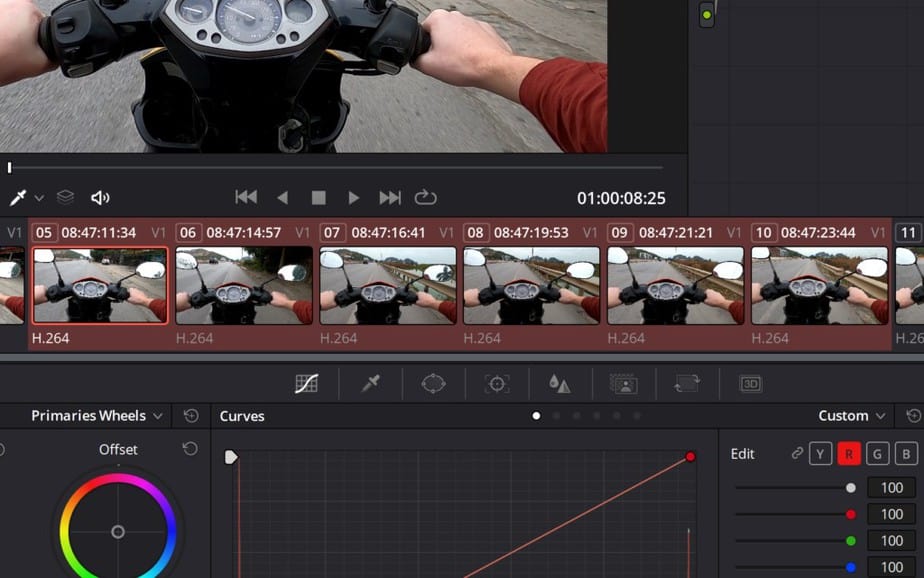
Now you can view your color grade on whatever clip you want to. Simply select one of the clips in the timeline and then hover your mouse over the one added to the gallery. Then you’ll see how your selected clip will look with that color grade!
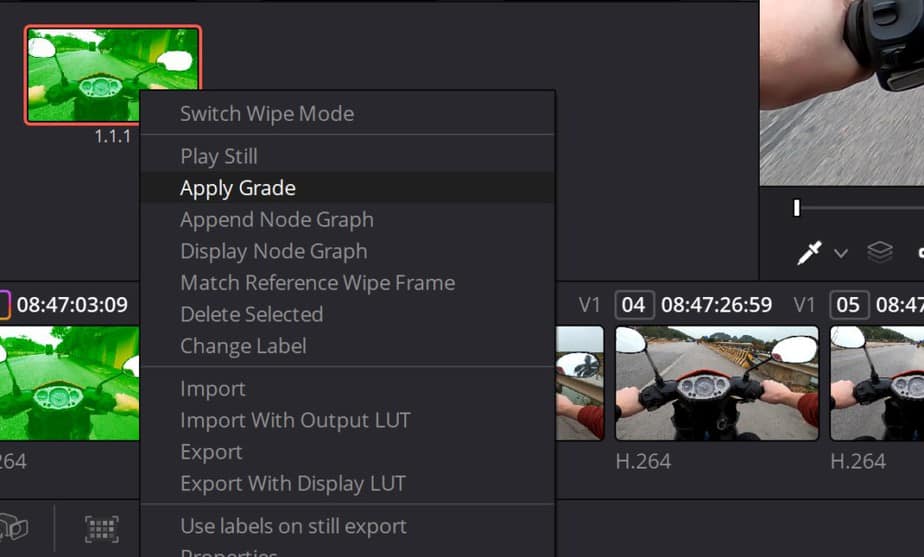
And if you want to apply it, you just right-click and then “Apply Grade“. For those with an external mouse, the middle mouse button works here as well.
I just want to clarify that when copying over the color grading in the methods we have discussed and will discuss further you’re copying over all the nodes too.
If you haven’t made any new nodes this doesn’t matter to you. And if you want to paste over the whole color grading this is the way to go.
But for those who want to copy only the adjustment made to one of the nodes, I have included that in this article as well. But first, there I want to show you a cooler and more effective way of copying the whole color grading!
Taking it one step further, there is also a way to do this with shortcuts.
Then what you want to do is take that “still” you have created and drag it into one of those black boxes above. Notice that the boxes are marked with characters. The best ones are without doubt A, B, and C.
The reason for this is the shortcut each of these boxes represents. So the shortcut for box A is CTRL+1 and box B is CTRL+2. (CTRL=Command on mac).
Once you’ve dragged the copy from the gallery into one of them, it’s really easy to paste it onto new clips. What you then do is just select one or multiple of the clips in the timeline and then press CTRL+1 and boom they’re color graded as well!
If you want to know the most effective way of selecting clips in the timeline I have an own section for this down below as well.
A great way to use these boxes is whenever you start to color grade is to make every node you want to have as default and then add it to one of these boxes.
Then every time you start to color grade a new clip you can just hit CTRL+1 and there it’s set to default. Or if you want to reset a clip back to normal.
Saving Color Grading as Preset (For later use)
When you’ve color graded a clip and is pretty damn satisfied. Why not save it for later use or another project?
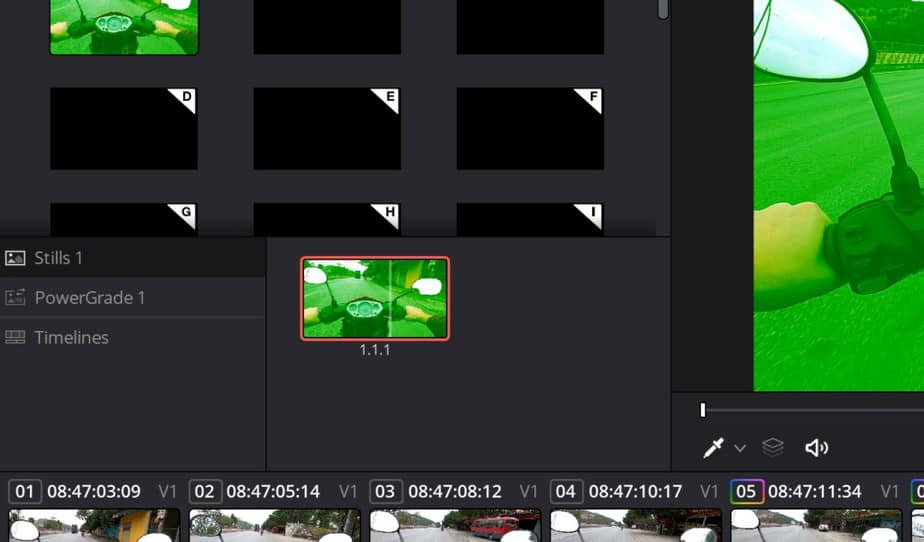
What you want to do then is drag your color grading from the gallery into the folder which is called “PowerGrade 1“. That’s it! If you create a new project and open the “PowerGrade 1” you’ll now see your preset in there.
To apply it in your new timeline, you do it the same way as mentioned over. You select one or multiple clips from the timeline and then you can test it or you can apply it.
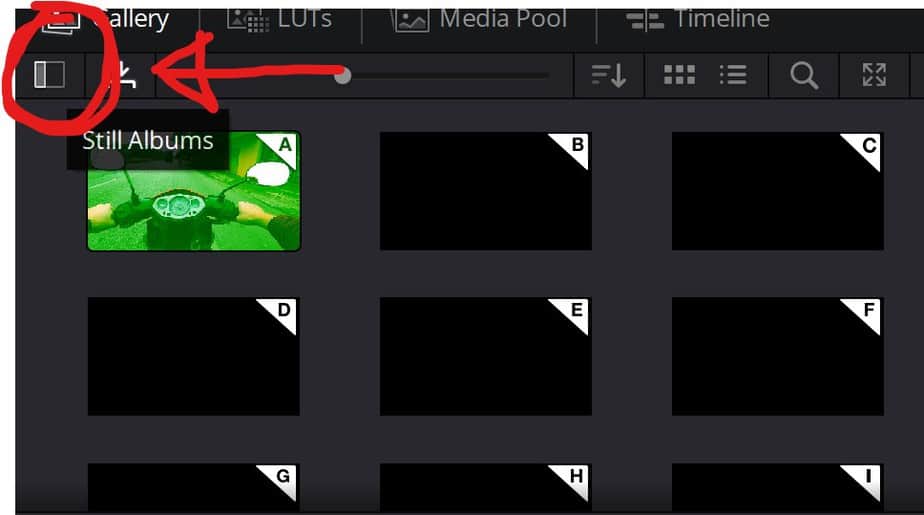
If you cannot find this folder, click on this button located under “Gallery”.
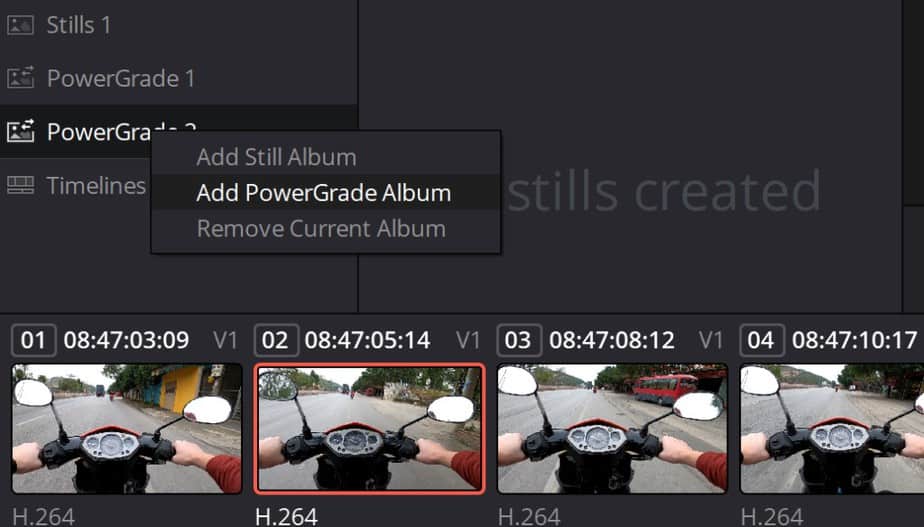
Another great thing about these folders is that you can organize things much better. So if you made a color grade for a certain camera or in a certain place. You can now create your own folder to group the color grades into different categories for later use!
All you have to do is to right-click one of the folders and “Add PowerGrade Album”. Then to rename then you simply double-click on the name.
How to Color Grade the Whole Timeline
Sometimes you may want to apply something to the whole timeline. Maybe you used some wrong setting on your camera the whole time you were filming the project you’re now color grading. Or maybe you shot every clip in your timeline in the same light.
Either way, then it may be nice to know how to do this. So instead of color grading only the clip you’ve selected, you can change this to color grading the timeline instead!
Here’s how you do it:
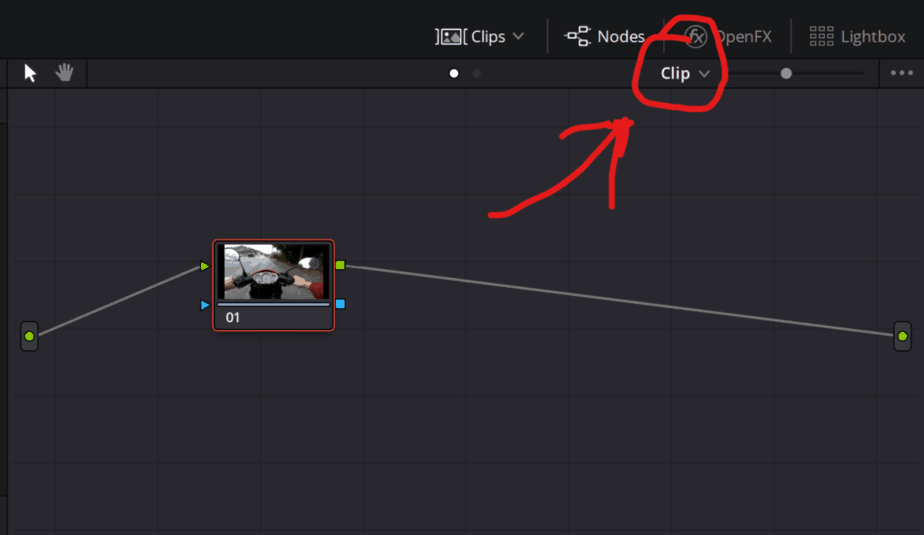
Change from “Clip” to “Timeline“
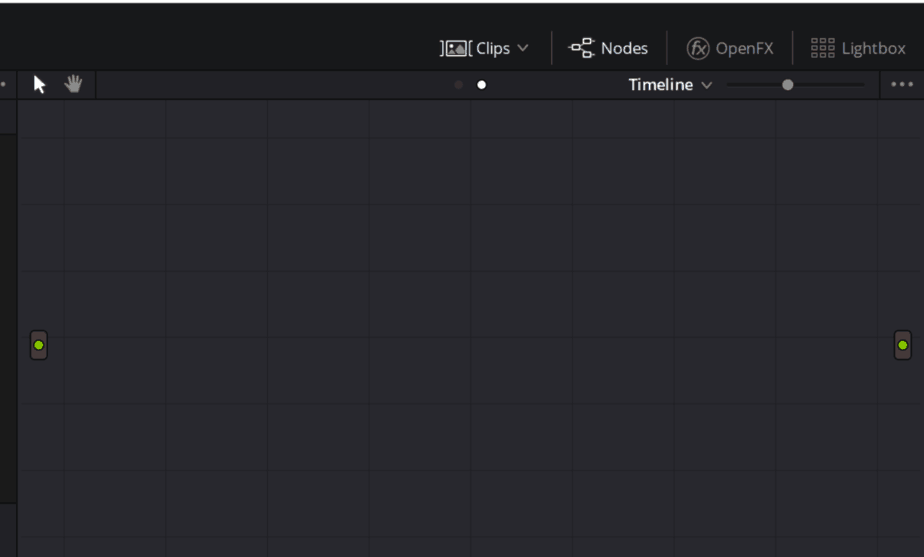
Then you’ll have to add a new node, so press ALT+S.
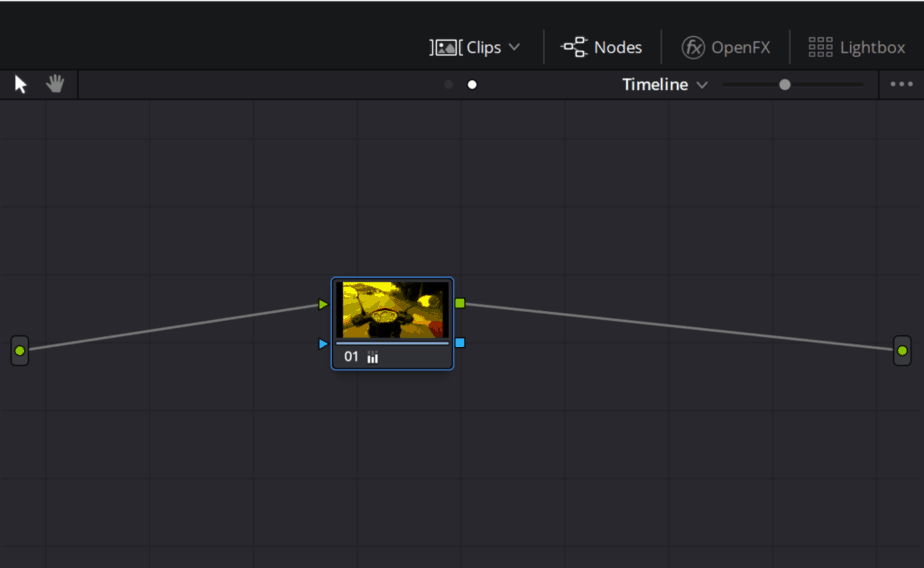
Now it should look like this and when changing the colors you’re doing it to every single clip in the timeline!
Handy Techniques for Copying Colorgrades
You can do this in a lot of different ways. But sometimes other methods may suit the situation better. Especially if you want to do it the most effective way.
If you just want to copy the color grading over to one clip, you can actually use the copy-paste method. You simply select the clip you want to copy and press CTRL+C or Command+C. Then select the clip you want to paste it onto and press CTRL+V or Command+V. Sometimes this may just be the easiest.
When selecting multiple clips holding down CTRL or Command is a great way to do it, especially if they’re having clips in between. But if it’s multiple clips in a row this will take longer time than necessary.
In that case, you select the first clip and press shift while selecting the last clip. All the clips in between will then be selected!
Another awesome way to copy to another clip is by pressing the “=”. What this does is copy the color grading from the previous clip or the one on the left. In order for this to work the clip needs to have been color graded of course. If you do this on a color-graded clip next to a clip without color grading, it will actually lose the color grading. This goes for every method. I’ll explain this further under the next heading, on how to get rid of color grading
How to Remove Color Grading
If you want to remove color grading there is a couple of ways you can do this as well. I’ll some different ones that may be best in different situations.
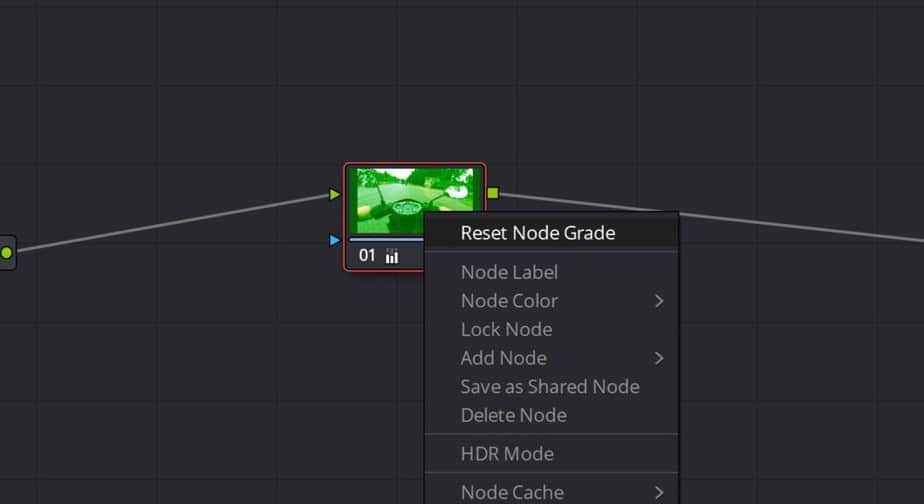
This one is done after the book. Just right-click the node and then “Reset Node Grade” and then it’s back to normal. You can also do this if you have multiple nodes, you’ll only reset the one you’re selecting. But remember it will affect the others if it comes before them in the line.
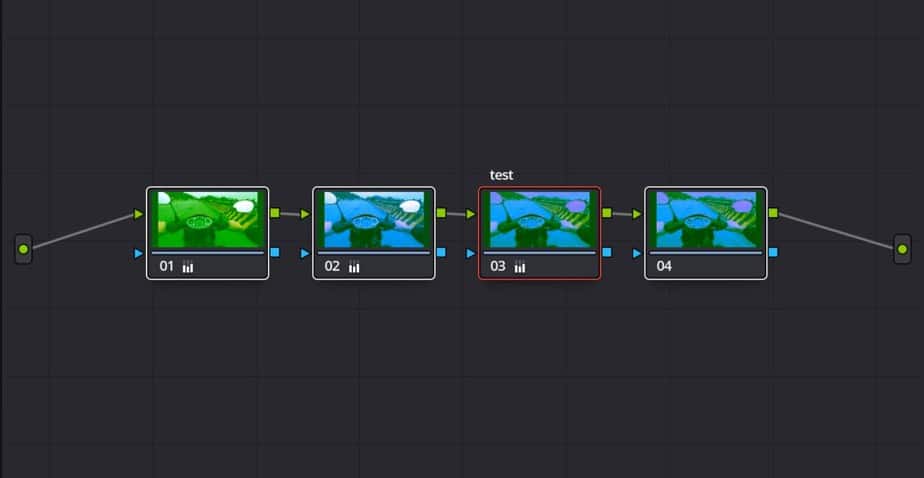
If you want to reset them all together you can click on all of them like above. Or you can just right-click the background (the node window) and then click on “Reset All Grades and Nodes” Shortcut is “CTRL+Home“. But this will reset the whole window, so all extra nodes will get deleted too.
The best way to do this, however, in my opinion, is the way described above by making a default with the CTRL+Number shortcut. (First thing you find over the headline “Saving Color Grading as Preset“) Then whenever you want to change it back to normal with all your default nodes, just hit the shortcut, and boom!
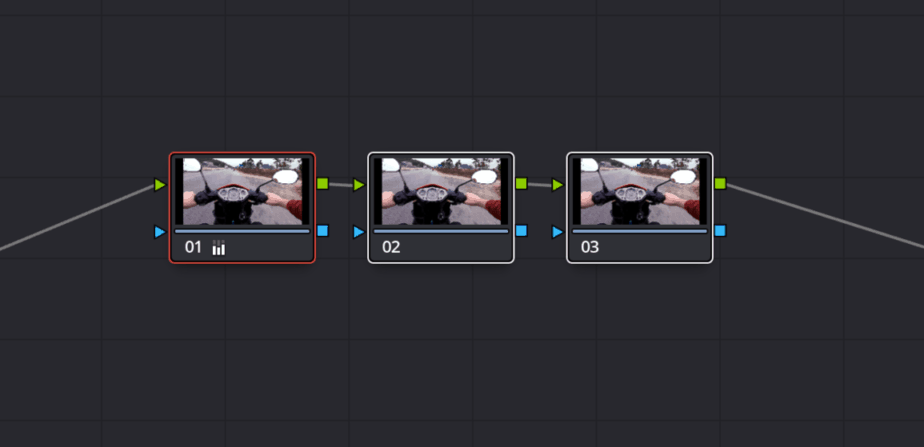
How to Copy Color Grading Between Nodes (Not the Whole Clip)
Here’s how you copy color grading between nodes, as promised above.
The simplest way which almost always works and since I’m including it works here as well. It’s nothing more and nothing less than copy/paste. It doesn’t show while right-clicking so we have to use shortcuts.
Select desired node (with the color grade) then press CTRL+C and select the node you want to paste on then press CTRL+V.
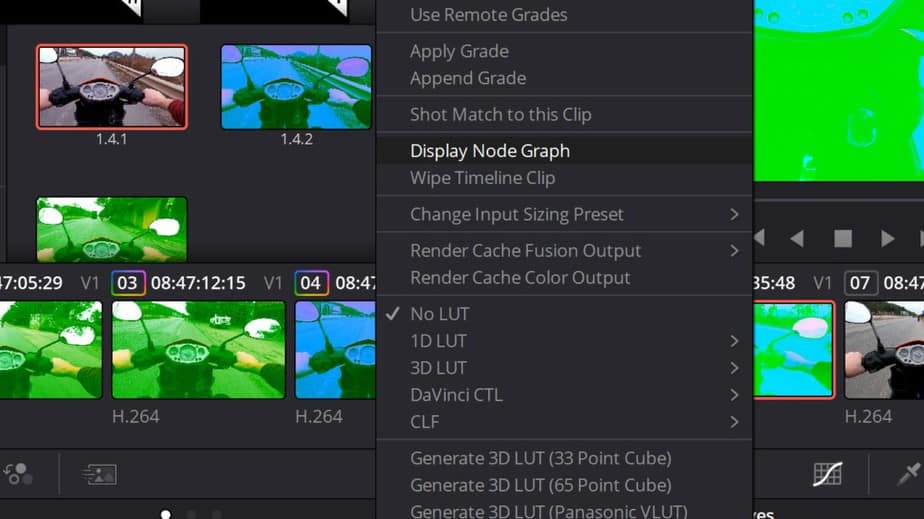
You can also right-click the clip with the node you want to copy and then “Display Node Graph” like in the picture above.
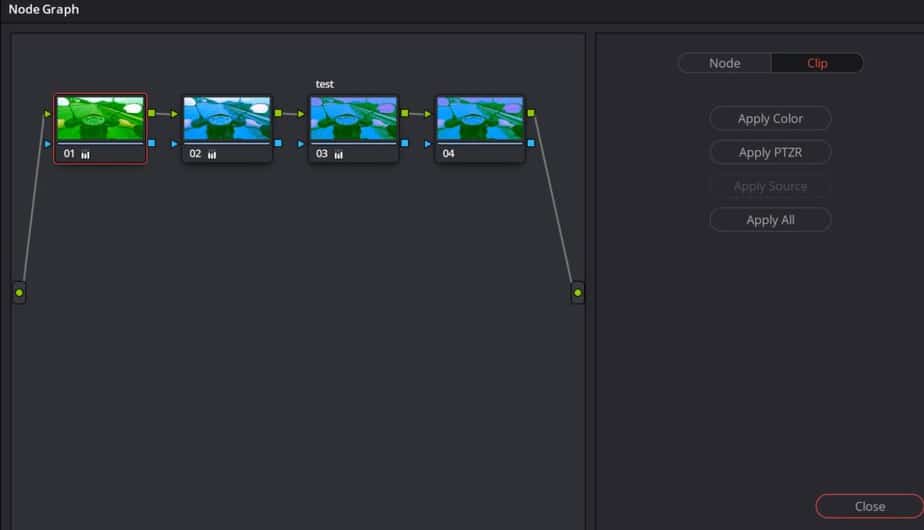
Then from the Node Graph just drag the node and drop it on the node you want the color grading on. Boom!
I hope you found this article helpful!
Check out this article on how to blur a face or areas of a video (+ tracking movement).
Cheers,
Jens